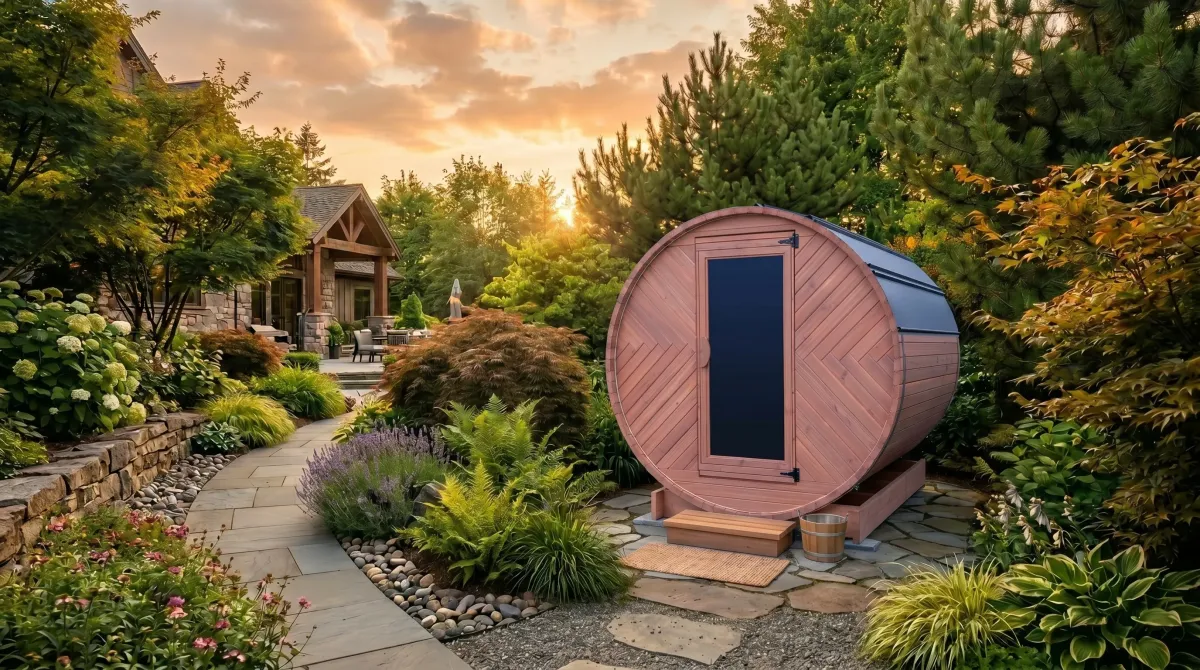
How to Maintain and Clean Your Barrel Sauna
A Canadian cedar barrel sauna isn’t particularly high-maintenance. It doesn’t require weekly upkeep and can withstand a Quebec winter. But a few simple habits will extend its lifespan from 20 to 30+ years and preserve the very scent and appearance that made you buy it in the first place.
After Each Session
The most important rule is ventilation. Open the door and, if available, the vent immediately after the session ends. Moisture is the real enemy of wood, and it needs to go outside rather than settle on the walls and shelves.
If there is water left on the floor, wipe it dry. It’s not good for wooden surfaces to soak in water.
You should also take the bucket and ladle outside or turn them upside down, as this helps them dry faster and stay in good condition longer.
Once a month
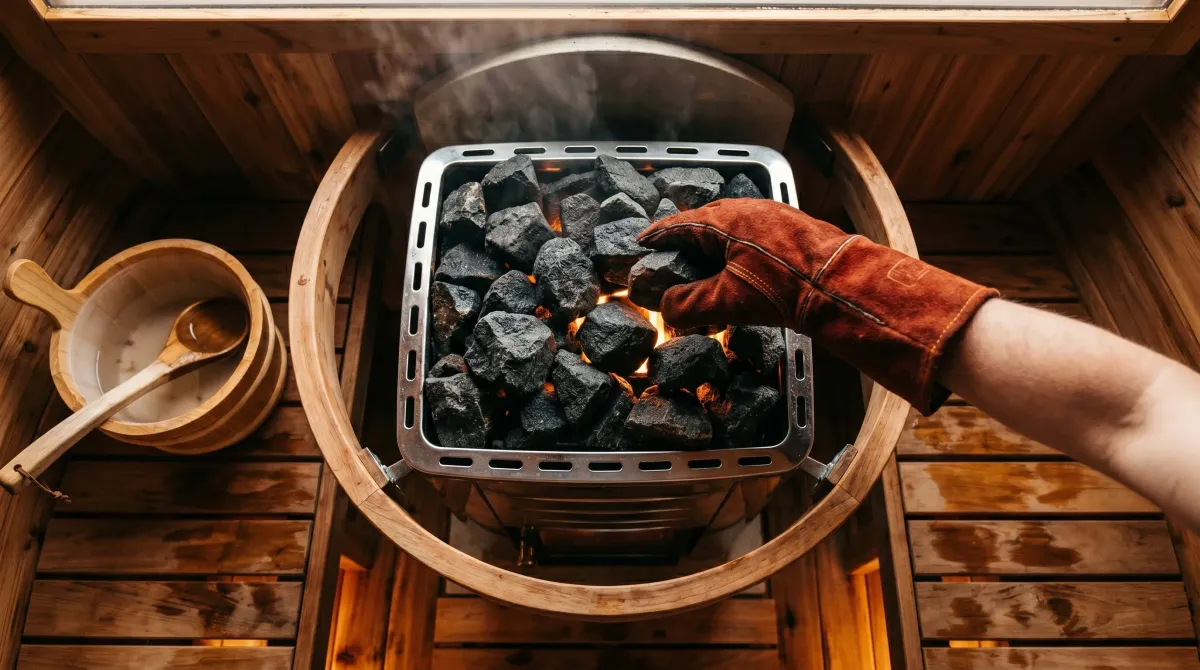
Inspect the stones in the stove. If you see cracks or broken pieces, remove them. Damaged stones can crack when heated, which can be dangerous. Replacing some of the stones takes just five minutes.
Check the stove and chimney (if you have a wood-burning stove): soot and ash must be removed regularly. A clogged chimney means poor combustion and a safety hazard. Checking once a month during the heating season is enough to catch any problems in time.
Several times a year
Benches and floor.
Western red cedar does not require sealing or staining, and this is one of the reasons we use it. But if the benches have darkened or you feel that the wood has become less smooth, you can go over them with fine sandpaper (120–150 grit) to smooth out any rough spots. Of course, there should be no varnishes, oils, or stains on the interior surfaces of the sauna, as when heated, they release substances that certainly won’t be good for your lungs.
The exterior surface of the barrel.
On the outside, cedar may darken or take on a silvery hue over time – and this is a natural process, not wood deterioration. If you want to preserve the warm honey color, apply a protective oil or impregnation for exterior wood (cedar oil or any natural-based product) once a year in the spring. If you prefer the silvery-gray “weathered” look – you don’t need to do anything.
Sealing and fastenings.
Inspect the barrel hoops and fastenings – have they loosened after winter? Wood naturally expands and contracts with temperature changes, so lightly tightening the hoops once a year is normal and takes just a minute.
Winter: nothing special
In winter, there’s nothing you need to do with the sauna. That’s what it’s built for.
No need to cover it, insulate it, or move the stove to the basement. Just make sure the vents aren’t blocked by snow, and keep using it. Winter sessions are usually the best :).
If you have an electric stove and plan not to use the sauna for several months in a row, simply unplug the stove and leave the door slightly ajar to allow air to circulate.
What not to do
- Do not wash the interior surfaces with harsh cleaning agents. If cleaning is needed, warm water and a stiff sponge will do the trick. For stubborn stains on the benches, use fine-grit sandpaper.
- Do not cool the stones with water after the session; pour water only on the heated stones during the steam session.
- Don’t leave wet towels and mats inside after a session. They trap moisture exactly where it shouldn’t be.
Conclusion
A few minutes of attention after each session and one annual inspection in the spring – that’s all it takes. Cedar and time take care of the rest.
If you have questions about a specific situation, we’re always here to help. That’s what Sauna Care is all about.